[Answer ID: 14495]
How to Back Up the TeraStation to Another LinkStation or TeraStation
First, configure a folder as a backup destination.
| 1. |
In Settings, navigate to [Folder Setup].
|
| 2. |
Choose the folder to set as a backup destination.
|
| 3. |
Click [Edit].
|
| 4. |
Check "Backup" from "LAN Protocol Support", then click [OK].
|

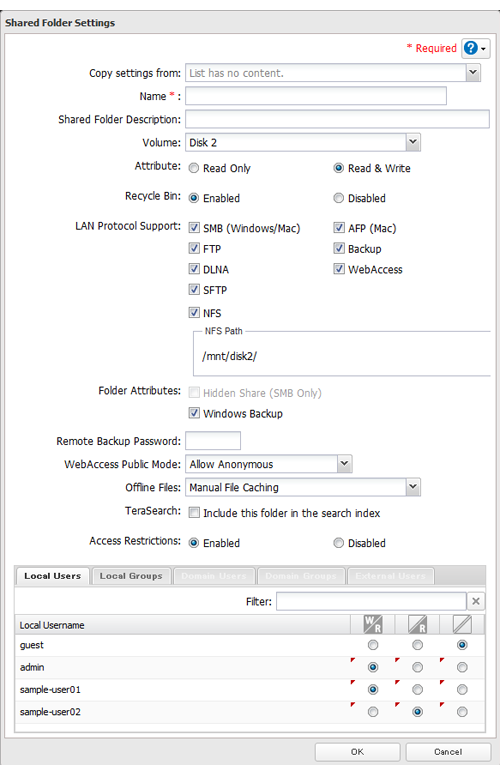
| Note: | To configure a password, enter it in the "Remote Backup Password" field. Leave this field blank if you don't want a password. If the target device is configured with a backup password, you can search for the password from the backup source. |
Backing up to a LinkStation or TeraStation on another network when connected by a VPN
You can back up to a LinkStation or TeraStation on another network as long as the two networks are connected by a VPN. Follow this procedure to enter the IP address or hostname of the target LinkStation or TeraStation.
| 1. |
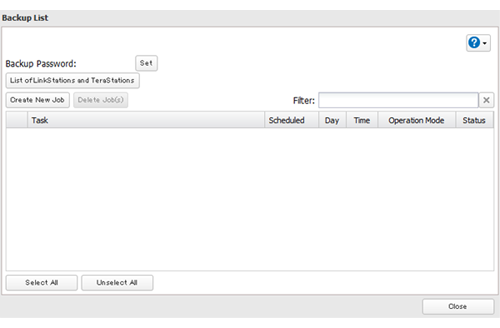
In Settings, click [Backup].
|
| 2. |
Click
|
| 3. |
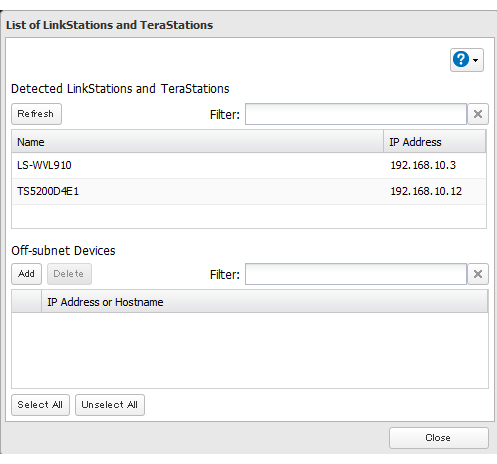
Click [List of LinkStations and TeraStations].
|
| 4. |
Click [Add], enter the IP address of the target LinkStation or TeraStation, and click [Close].
|

 to the right of "Backup".
If your setup meets these requirements, you don't have to configure these settings:
• The source and target TeraStations are on the same network.
• No backup password is set for the target TeraStation.
• No TeraStation from outside the subnet, or connected by a VPN, is used.
Notes:
| • | To back up data between LinkStations or TeraStations on a network using jumbo frames, make sure that both devices are configured to use identical (or similar) Ethernet frame sizes. If Ethernet frame sizes are significantly different, the backup job may not be properly performed. In such a case, select the default frame size (1518 bytes). |
| • | You can also specify hostname by a fully qualified domain name (FQDN). |
Configuring a Backup Job
| 1. |
In Settings, click [Backup].
|
||
| 2. |
Click
|
||
| 3. |
Click [Create New Job].
|
||
| 4. |
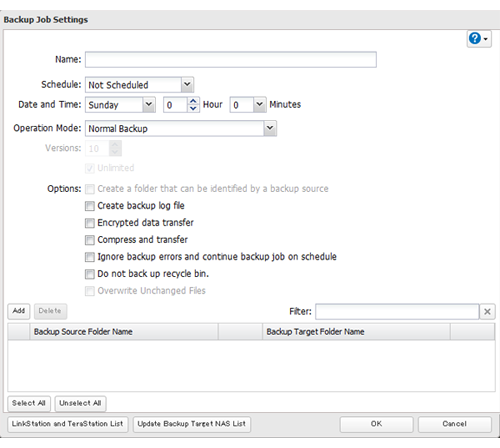
Select backup settings such as date and time to run.
|
||
| 5. |
Click [Add].
|
||
| 6. |
Click [Browse] under "Backup Source Folder Name".
|
||
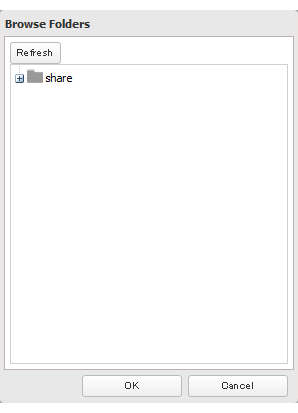
| 7. |
Select the shared folder that will be the backup source, then click [OK].
|
||
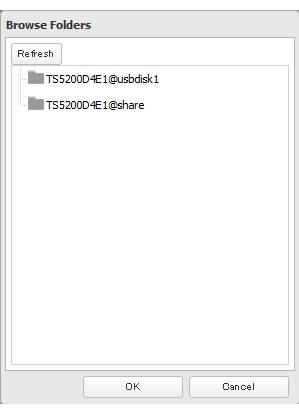
| 8. |
Click [Browse] under "Backup Target Folder Name".
|
||
| 9. |
Select the backup target and click [OK].
|
||
| 10. |
Click [OK].
Tasks added to "Backup List" are displayed.
|
||
| 11. |
Click [Close].
|
||
Details