[Answer ID: 12024]
How do I replace an internal hard drive? (hot spare)
Created 03/24/2011 09:44 | Updated 10/06/2011 15:39
|
- Update the firmware just in case.
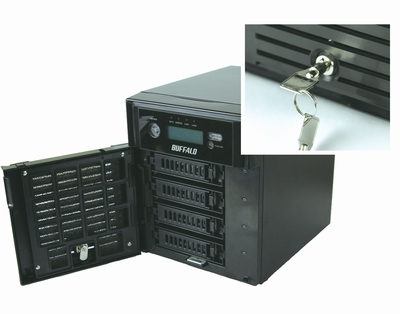
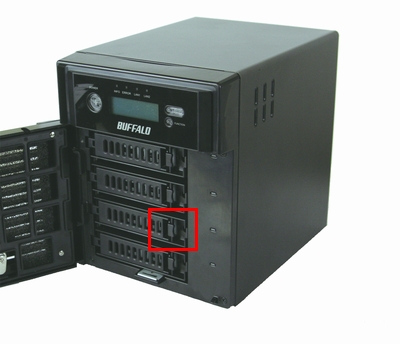
- Open the front cover with the key that comes with this unit.
- Push the cartridge tab of the failure hard disk (denoted by the status LED lighting in red) to the left, and pull it out toward the front of the unit.
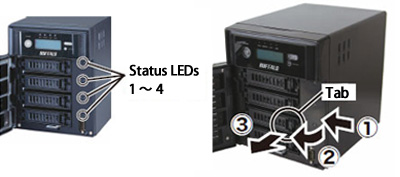
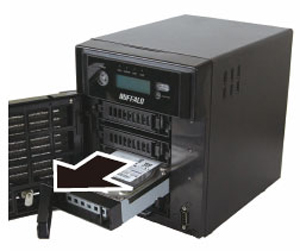
Hard disks with the status LEDs not lighting are still active. Do not unplug or remove them. - Pull out the hard disk together with the cartridge, and remove it from the TeraStation.
- Insert the OP-HD series hard disk (sold separately) into the slot which became empty after Step 4.
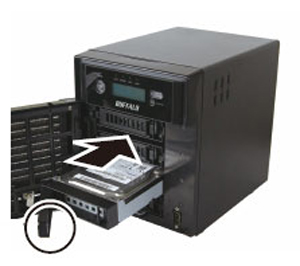
Insert it while the tab is still open. - Push the disk into the TeraStation, and push the tab towards the back of the TeraStation until you hear a clicking sound. Turn on the TeraStation if not powered up due to the configuration.
- When the new hard disk is recognized, the LED will flash in red or amber, and the LCD on the front of the TeraStation will display the message, "Press FuncSW I31 New disk (any number from 1 to 4) ready."
- Press and hold the FUNCTION button on the front of the TeraStation for 3 seconds (until it beeps). The new hard disk is automatically registered as a spare disk.
・If you want to use the new disk as a normal disk rather than a spare disk, navigate to [System] - [Storage] - [RAID Array] on the Web Admin of the TeraStation, select the new disk, and click [Set the normal disk].
Any data on the newly installed OP-HD series hard disk will be erased during this process.
Details
Products
OS / Hardware
Was this answer helpful?
Please tell us how we can make this answer more useful.